A practical guide to fetching Shopify orders as JSON using the new Client Credentials flow – with cURL, PHP, and a ready-to-use Postman collection.
If you’ve built Shopify integrations before, you probably remember the old workflow: create a custom app in the Shopify admin, click into the API Credentials tab, copy a permanent shpat_... token, and you were done. That token never expired and worked forever.
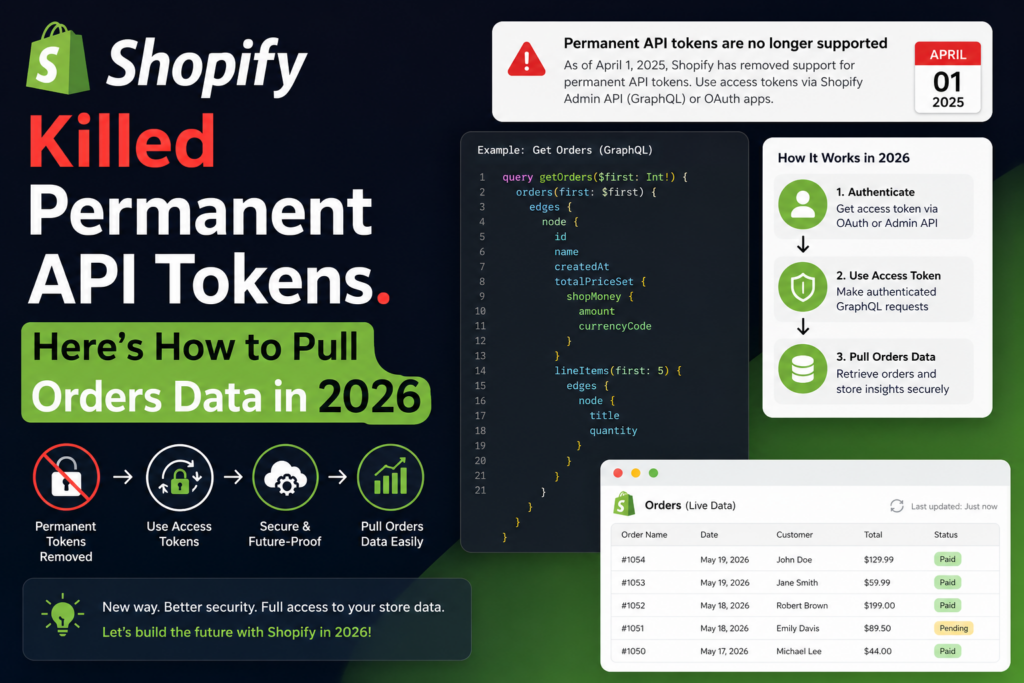
That era is over.
As of January 1, 2026, Shopify no longer lets you create custom apps with permanent tokens from the store admin. New apps are created in the Dev Dashboard, and instead of a copy-paste token, you get a Client ID and Client Secret. If you’ve recently created an app and found yourself staring at those two credentials wondering “okay, but where’s my access token?” – this post is for you.
The good news: the new flow (called the client credentials grant) is actually simple once you understand it. It’s more secure too – tokens expire every 24 hours, so a leaked token is a much smaller problem than a leaked permanent one.
Let’s walk through pulling your store’s orders data in JSON, end to end.
How the New Flow Works
The mental model is a two-step handshake:
- Exchange your Client ID + Secret for an access token. Your code makes a POST request to your store’s OAuth endpoint. Shopify returns a token valid for 24 hours.
- Use that token to call the Admin API. Pass it in the
X-Shopify-Access-Tokenheader, exactly like the old permanent tokens.
One important caveat before you start: the client credentials grant only works for apps built by your own organization, installed on stores your organization owns. If you’re building for other merchants’ stores, you’ll need the authorization code grant or token exchange instead. For internal tools, reporting dashboards, ETL pipelines, and automation scripts – which is what most of us are doing – client credentials is the right fit.
Also make sure your app has the read_orders access scope configured in the Dev Dashboard (or your app’s TOML file). No scope, no data.
Step 1: Get an Access Token
curl -X POST "https://YOUR-STORE.myshopify.com/admin/oauth/access_token" \
  -H "Content-Type: application/json" \
  -d '{
    "client_id": "YOUR_CLIENT_ID",
    "client_secret": "YOUR_CLIENT_SECRET",
    "grant_type": "client_credentials"
  }'
Shopify responds with:
{
  "access_token": "shpua_xxxxxxxxxxxx",
  "scope": "read_orders",
  "expires_in": 86400
}
Note the expires_in: 86400 – that’s 24 hours in seconds. Your integration should cache this token and request a fresh one before it expires, rather than hitting the token endpoint on every API call.
Step 2: Pull Orders as JSON
With the token in hand, fetching orders looks exactly like it always did.
REST (simplest option):
curl "https://YOUR-STORE.myshopify.com/admin/api/2025-07/orders.json?status=any&limit=250" \
  -H "X-Shopify-Access-Token: shpua_xxxxxxxxxxxx"
GraphQL (Shopify’s recommended path going forward):
curl -X POST "https://YOUR-STORE.myshopify.com/admin/api/2025-07/graphql.json" \
  -H "X-Shopify-Access-Token: shpua_xxxxxxxxxxxx" \
  -H "Content-Type: application/json" \
  -d '{"query": "{ orders(first: 50, sortKey: CREATED_AT, reverse: true) { edges { node { id name createdAt totalPriceSet { shopMoney { amount currencyCode } } customer { email } } } pageInfo { hasNextPage endCursor } } }"}'
REST returns a flat orders array that’s easy to dump into a database or spreadsheet. GraphQL gives you precise control over which fields you fetch — worth adopting now, since Shopify is steadily moving all new capabilities to GraphQL.
A Production-Ready PHP Implementation
Here’s a minimal implementation with token handling, the kind you’d drop into a Laravel service or a standalone script:
function getShopifyToken(string $shop, string $clientId, string $secret): string {
    $ch = curl_init("https://{$shop}/admin/oauth/access_token");
    curl_setopt_array($ch, [
        CURLOPT_RETURNTRANSFER => true,
        CURLOPT_POST => true,
        CURLOPT_HTTPHEADER => ['Content-Type: application/json'],
        CURLOPT_POSTFIELDS => json_encode([
            'client_id' => $clientId,
            'client_secret' => $secret,
            'grant_type' => 'client_credentials',
        ]),
    ]);
    $res = json_decode(curl_exec($ch), true);
    curl_close($ch);
    return $res['access_token'];
}

function getOrders(string $shop, string $token): array {
    $ch = curl_init("https://{$shop}/admin/api/2025-07/orders.json?status=any&limit=250");
    curl_setopt_array($ch, [
        CURLOPT_RETURNTRANSFER => true,
        CURLOPT_HTTPHEADER => ["X-Shopify-Access-Token: {$token}"],
    ]);
    $res = json_decode(curl_exec($ch), true);
    curl_close($ch);
    return $res['orders'] ?? [];
}
In production, wrap the token in a cache (Laravel’s Cache::remember with a ~23-hour TTL works nicely) so you’re not requesting a new token on every run.
Testing It in Postman
For exploration and debugging, nothing beats Postman. Set up a collection with:
- A collection variable set:
shop,client_id,client_secret,access_token, andtoken_expires_at. - A token request that POSTs to
/admin/oauth/access_tokenand, in its test script, saves the returned token and expiry timestamp to collection variables. - Orders requests with a pre-request script that checks whether the cached token is still valid – and silently fetches a fresh one if it isn’t.
The pre-request script pattern looks like this:
const expiresAt = Number(pm.collectionVariables.get('token_expires_at') || 0);
if (Date.now() < expiresAt) return; // token still valid

pm.sendRequest({
    url: 'https://' + pm.collectionVariables.get('shop') + '/admin/oauth/access_token',
    method: 'POST',
    header: { 'Content-Type': 'application/json' },
    body: {
        mode: 'raw',
        raw: JSON.stringify({
            client_id: pm.collectionVariables.get('client_id'),
            client_secret: pm.collectionVariables.get('client_secret'),
            grant_type: 'client_credentials'
        })
    }
}, (err, res) => {
    if (err) { console.error(err); return; }
    const data = res.json();
    pm.collectionVariables.set('access_token', data.access_token);
    pm.collectionVariables.set('token_expires_at', Date.now() + (data.expires_in - 300) * 1000);
});
With this in place, you never think about tokens again – every request just works, and the token refreshes itself with a five-minute safety buffer.
One tip: store your Client Secret in the “Current value” column of Postman variables, not “Initial value”. Current values stay local to your machine and won’t sync to your team workspace or get exported with the collection.
Gotchas That Will Cost You an Afternoon
The 60-day order history limit. By default, apps can only read orders from the last 60 days. If your orders array looks suspiciously short, this is why. Request the read_all_orders scope to unlock full history.
shop_not_permitted errors. This means the app and the store don’t belong to the same Shopify organization, or the app isn’t actually installed on the store yet. Client credentials won’t work across organizations – that’s by design.
Sending credentials to the GraphQL endpoint directly. Your Client ID and Secret only go to the token endpoint. Everything else uses the access token in the header. Mixing these up is the most common beginner mistake with the new flow.
Pagination. REST caps at 250 orders per page – parse the Link response header for the page_info cursor. In GraphQL, use pageInfo.endCursor with the after argument. For very large exports, look at GraphQL bulk operations, which hand you back a downloadable JSONL file instead of making you paginate through thousands of requests.
Never commit your secret. Keep credentials in a .env file, add it to .gitignore, and rotate the secret immediately if you suspect it’s leaked. With the new flow, rotation is painless – old tokens die within 24 hours anyway.
The Bigger Picture
Shopify’s move away from permanent tokens follows the same trajectory we’ve seen across the SaaS ecosystem – short-lived credentials, scoped access, and server-to-server OAuth becoming the default rather than the exception. It adds a small amount of upfront work, but the payoff is real: a compromised token is now a 24-hour problem instead of a permanent one.
If you’re maintaining older integrations built on shpat_ tokens, they’ll keep working for now – but any new app you create goes through this flow. Better to build the token-caching pattern into your toolkit today than to scramble when a legacy integration finally needs rebuilding.
Building reporting pipelines, dashboards, or cross-channel data integrations on top of Shopify? I’d love to hear how you’re handling the transition — contact us and let’s talk.